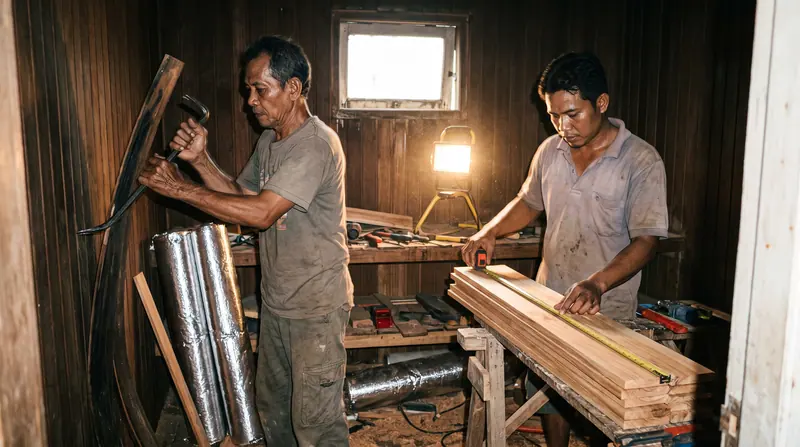
To build your own sauna safely, split the project along one line: everything made of wood — frame, insulation, panelling, benches, decking — can be yours, while the heater’s electrical circuit and anything touching steam belongs to a licensed technician. Hold that boundary and a self-build in Surabaya is a realistic weekend-by-weekend project rather than a gamble.
This city rewards people who make things: Surabaya runs on workshops, docks and garages where a decent toolkit is normal furniture. So when readers ask whether a self-built sauna is possible here, our answer as a contractor is not a defensive “no” — it is a map. Below is that map, with indicative local prices we quote from daily, every risk stated in plain words, and a free remote consultation at the end for anyone serious.
First decision: is your house even ready for the heat?
Before any timber talk, two site questions decide everything.
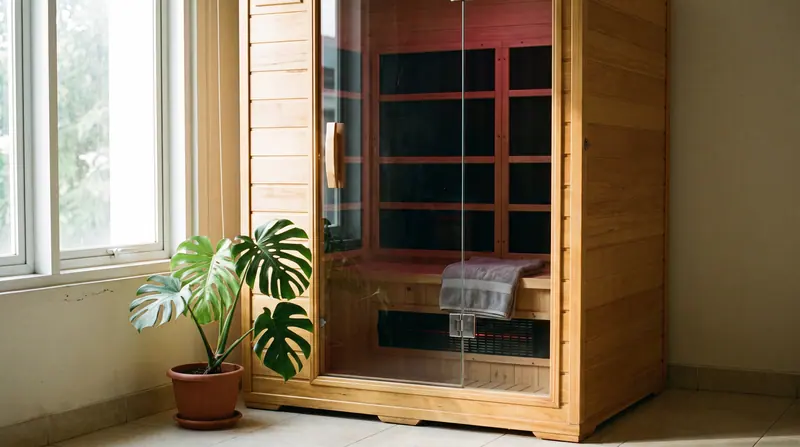
Power. A dry sauna’s heater wants 6–9 kW, which translates to a 7,700–11,000 VA connection — while a large share of older Surabaya homes still run 2,200–5,500 VA. Apply for the PLN upgrade early (official tariffs, and the paperwork can run parallel to your build), or accept the constraint and design around an infrared cabin drawing 1.7–2.4 kW instead. Discovering this at the end of the project is the classic self-builder’s heartbreak.
The room. Tile or concrete floor, ideally near a bathroom, with 2×2 m already generous for four people. Parquet and vinyl are disqualified — they cannot live under a hot room.
What you may build, what you should question, what you must hand over
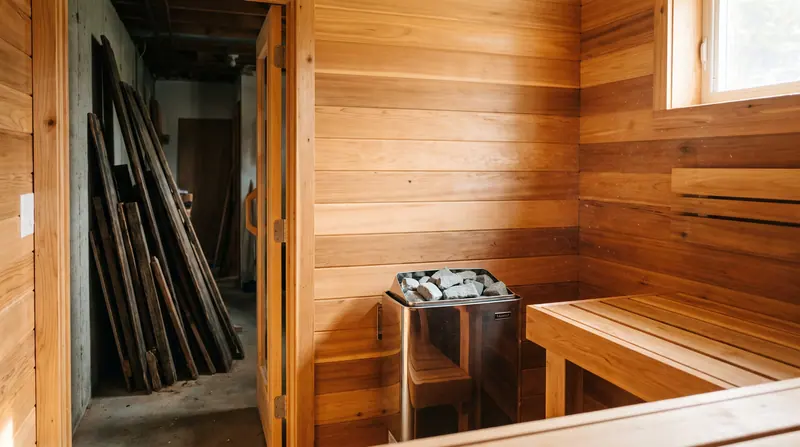
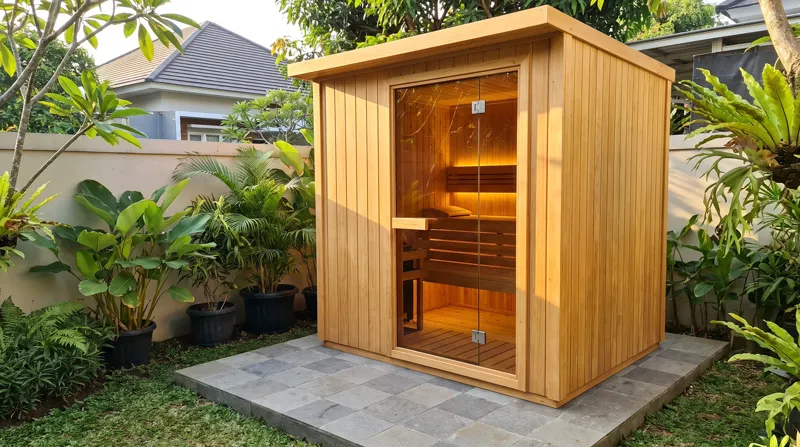
Yours to build. The stud frame for walls and ceiling; rockwool between the studs; the aluminium-foil vapour barrier stapled and taped without a single tear; the air gap battens; the interior cladding; benches in aspen or abachi sanded bare, with no paint or varnish where skin lands; and outdoor decking — the one honest home for local hardwoods like bengkirai and ulin.
Yours to question. Hanging an 8 mm tempered-glass door, whose weight punishes an imprecise hinge, and routing the airflow: intake low near the heater, exhaust high on the diagonal wall. Mistakes here are not dangerous, merely permanent irritations.
Not yours. The heater circuit — heat-rated SiHF cable, a dedicated breaker, an ELCB, grounding — and the entire steam-room discipline of generators, tanking and sloped drainage. We build steam rooms under a stricter protocol than dry saunas precisely because water and electricity forgive nothing.
Sourcing in Surabaya: same-day items versus indent items
Half the shopping list is a same-day errand in this city: rockwool, foil and foil tape, fixings, cabling for your electrician, and bengkirai decking straight from East Java’s own supply chains.
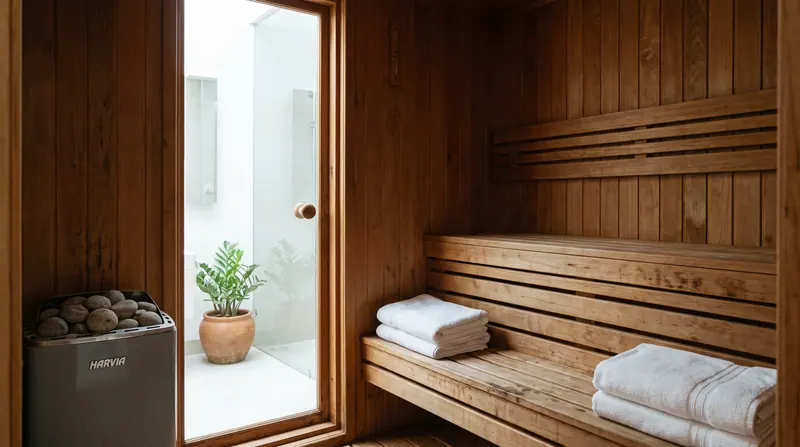
The other half tests patience. Correct interior timber — western red cedar, Scandinavian spruce or thermowood — arrives on a 1–2 week indent through the Jakarta/Surabaya warehouses, priced to the exchange rate of the day. Buy the heater through official channels so the Harvia, Sawo or Tylo factory warranty of 1–2 years actually lives; as a reference, a 6–9 kW unit professionally installed runs IDR 15–35 million. Add the quiet essentials while you are at it: tempered-glass door, heater stones, a thermometer-hygrometer, a heat-rated lamp, and a bench-wood order that is genuinely aspen or abachi — never decking offcuts, which store heat like a griddle at 70–90°C.
The assembly order that decides whether it lasts
Layer order is the whole game: insulation first, then foil with taped overlaps, then the air gap, and only then the panelling. Reverse any two of those and the wall traps moisture instead of shedding it. Benches follow, the door goes on last among the carpentry, and then the project leaves your hands: a licensed electrician wires the heater, and the first heating is done in stages — checking for cable smell, thermostat behaviour and proper airflow — never straight to 90°C.
What failure looks like, from our renovation desk: self-built rooms arriving after 2–3 years with walls rotted from the inside for lack of foil, timber permanently damp for lack of airflow, benches that scorch, non-tempered glass, unguarded heaters in houses with children, and outdoor cabins whose unroofed timber lost its fight with rain and UV. That tuition bill lands at IDR 15–50 million in sauna renovation — nearly always more than building it right once.
Run the money before you run the saw
| Route | Indicative price |
|---|---|
| Self-build (materials only, your time uncounted) | approaches prefab money |
| Prefab / mini unit, installed | IDR 15–35 million |
| Contractor economy build, mixed materials | from IDR 40 million |
| Full-service custom 2×2 m | IDR 60–120 million |
| Infrared cabin sized for one or two | IDR 30–70 million |
| Renovating a failed self-build | IDR 15–50 million |
All indicative, moving with site conditions and material rates. When the materials list alone approaches prefab territory, the economic case is gone and the hobby case remains — a perfectly good reason, held honestly. The full anatomy of where the money goes sits in our Surabaya sauna cost guide.
Geography nudges the answer too. In Wiyung, with its generous yards, the popular hybrid is owner-built foundation and decking under our delivered cabin. Around industrial Gresik, self-builders often land on an infrared cabin instead — short install, light power draw, almost no wet trades.
Send us your plan — the consultation costs nothing
If you intend to build with your own hands, we will treat that intention with respect. While the team’s schedule allows, send room photos, dimensions and your work plan over WhatsApp and you will get specific feedback back: which parts are safely yours, which belong with a technician, and a sequence matched to your actual house. Free, and tied to no purchase.
Should you later hand over just the core — we deliver the home sauna shell and wiring while you keep the decking and exterior finishing — the process stays the usual one: free survey, itemized quote, 50% deposit, installation, a joint test heat-up, and a written 2-year structural warranty. Message us on WhatsApp whenever your plan is ready to talk through.
This guide is educational and no substitute for an on-site technical assessment. Work carried out without a licensed technician’s oversight remains outside our responsibility.